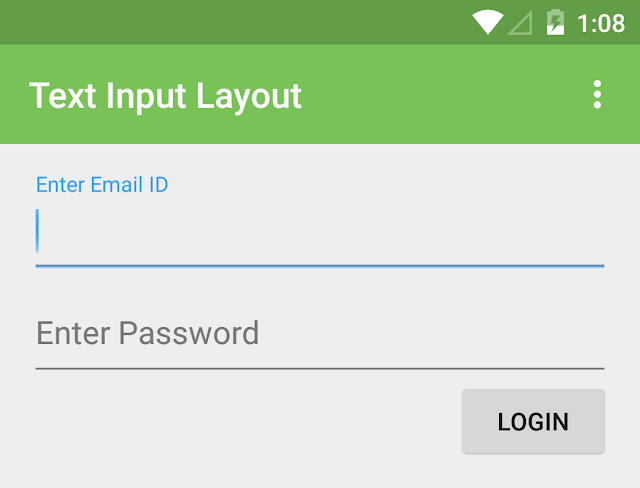
The new Android Design Support Library came out with a bunch of great Android View elements to implement. The TextInputLayout is one of them. TextInputLayout shows the hint text to the user even if the user starts typing into the EditText by the making the hint text float above the EditText. So yeah, let's see how to implement TextInputLayout using the Android Design Support Library.
What Does It Look Like?
Steps To Implement TextInputLayout
Step 1. Open Android Studio and create a new blank project by navigating to File => New Project and then fill other details.Step 2. The first thing to be done is adding the dependencies. So open the build.gradle file and add the following line in dependencies.
compile 'com.android.support:design:22.2.0'
Step 3. Finally open the layout file and add the following block of code wherever you want to add the Floating Labels(TextInputLayout) with EditText.
<android.support.design.widget.TextInputLayout
            android:id="@+id/text_input_layout_email"
            android:layout_width="match_parent"
            android:layout_height="wrap_content">

            <EditText
                android:id="@+id/editText_email"
                android:layout_width="match_parent"
                android:layout_height="wrap_content"
                android:hint="Enter Email ID"
                android:inputType="textEmailAddress"/>
        </android.support.design.widget.TextInputLayout>
Here the value of the attribute android:hint will automatically be floating above the EditText when the user types into it.Also, you can use the android.support.design:hintTextAppearance attribute to change the color of the floating label.
That's it for this tutorial. I know it was a simple one but remember, even a small thing can make a big impact on the apps interface.

No comments:
Post a Comment